Real Estate Photography Tips to Capture Stunning Listings
We’ve all seen it, a gorgeous home on the market pictured through a lens that looks like it just survived a mud fight. If only someone had shared real estate photography tips with those sellers. Luckily for you, today we’ll jump into how to elevate your property listings from drab to fab with some practical insights. Get ready to capture the essence of spaces like never before, and remember: amazing photos sell homes.
Understanding Your Equipment
Choosing the Right Camera and Lens
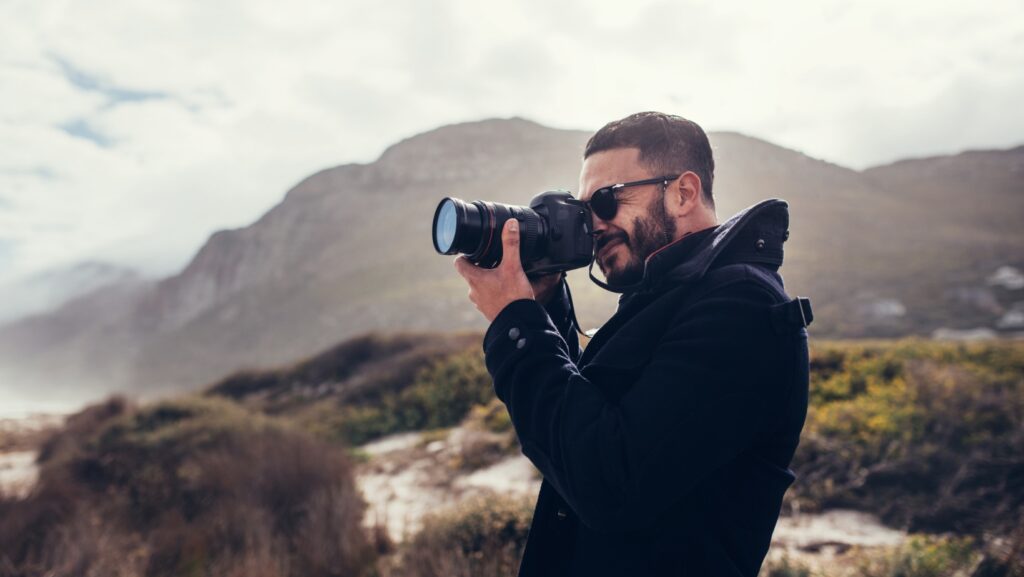
First things first, let’s talk gear. Investing in the right camera and lens can make all the difference in our photos. While high-end DSLR or mirrorless cameras are popular choices, even smartphones today can do an astonishing job if we know how to use them. When it comes to lenses, a wide-angle lens is our best friend for real estate photography. It allows us to capture more of the space in one frame, creating a sense of openness that buyers crave.
Importance of Tripods and Stabilizers
Next up, we can’t overlook the power of tripods and stabilizers. They’re like our secret weapon. Using a tripod helps us achieve those crisp, clear shots, especially in low-light conditions. Nobody likes blurry photos, right? Stabilizers are fantastic for video tours, ensuring everything runs smoothly as we navigate through the space.
Utilizing Lighting Effectively
Natural Light vs. Artificial Light
We all know lighting can make or break a photo. Natural lighting is our go-to for real estate photography. It brings out colors and textures in a way that artificial lighting can’t quite match. But, during cloudy days or at night, we might find ourselves relying on artificial light. In that case, soft white bulbs are our allies, creating a warm atmosphere that feels inviting and homey.
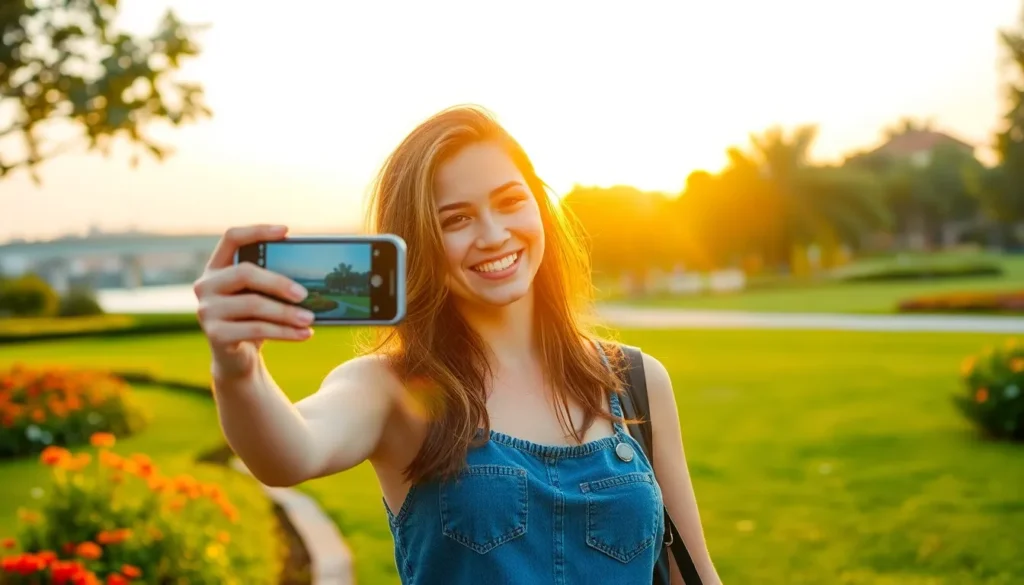
Best Times of Day for Shooting
Let’s also consider timing. The golden hour, those magical hours just after sunrise or before sunset, offers the most flattering light. If staging a home, we should aim for these times. The sun casts a warm glow and adds dramatic shadows that breathe life into our images.
Techniques for Shooting Interior Spaces
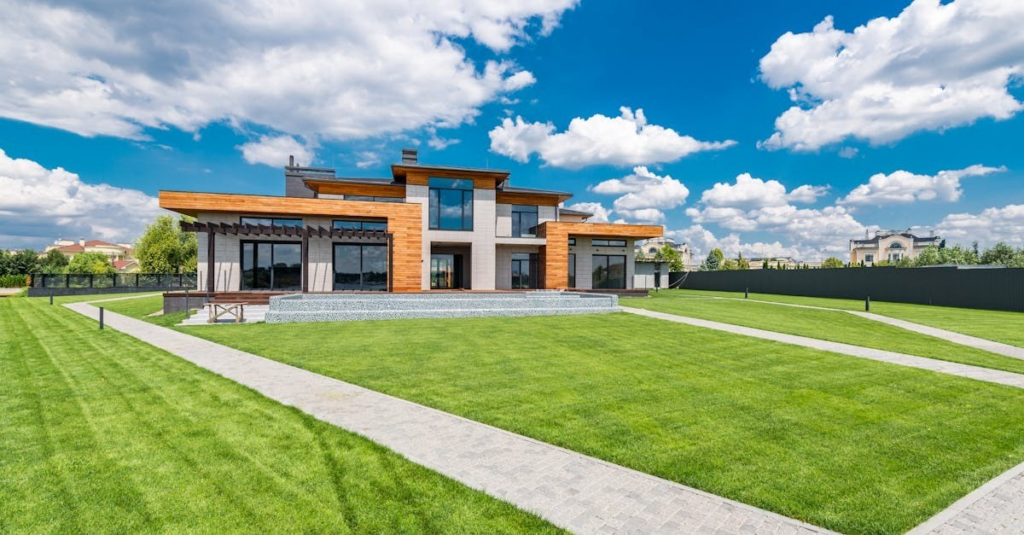
Decluttering and Staging Homes
Before snapping any shots, let’s declutter and stage the homes we’re photographing. A clean, organized space is more appealing. We can rearrange furniture to improve flow and draw attention to key areas. If we can add decorative elements like fresh flowers or stylish decor, do it. These little touches can transform a basic shot into something special.
Angles and Composition Techniques
Now, the fun part: angles and composition. We should always shoot from a height of about 5 feet for interior spaces. This height, plus a slight downward angle, allows for maximum visibility of the room’s layout. Using the rule of thirds can also help, imagine a tic-tac-toe grid on our lens. Positioning key features along these lines creates a balanced and visually engaging photo.
Post-Processing for Stunning Results
Editing Software Recommendations
After the shoot, we can jump into post-processing. Software like Lightroom or Photoshop can help us enhance photos without making them look overly edited. These tools let us adjust lighting, contrast, and saturation. But, let’s remember to keep it realistic. Our goal is to highlight the home’s best features, not create an entirely different space.
Common Editing Techniques
Some common editing techniques include correcting exposure and removing distractions. Cropping out unwanted objects can make our images cleaner, while adjusting white balance ensures our colors stay true to life. A bit of sharpening can also add that final touch, causing the details to pop.